Targeting the right Mic Placement for miking a Banjo is essential for recording and Live purposes. If done right, the instrument can produce the lively, pop sound and high bright overtones for recording that only a Banjo can make. What is the Best Mic Placement For Live and Studio Banjo?
The Best Mic Placement for:
- Recording- is at the edge of the resonator from the metal flange into the Banjo head, 3″ below the right hand, and about 6″ back using a small Diaphragm Cardioid Condenser Mic
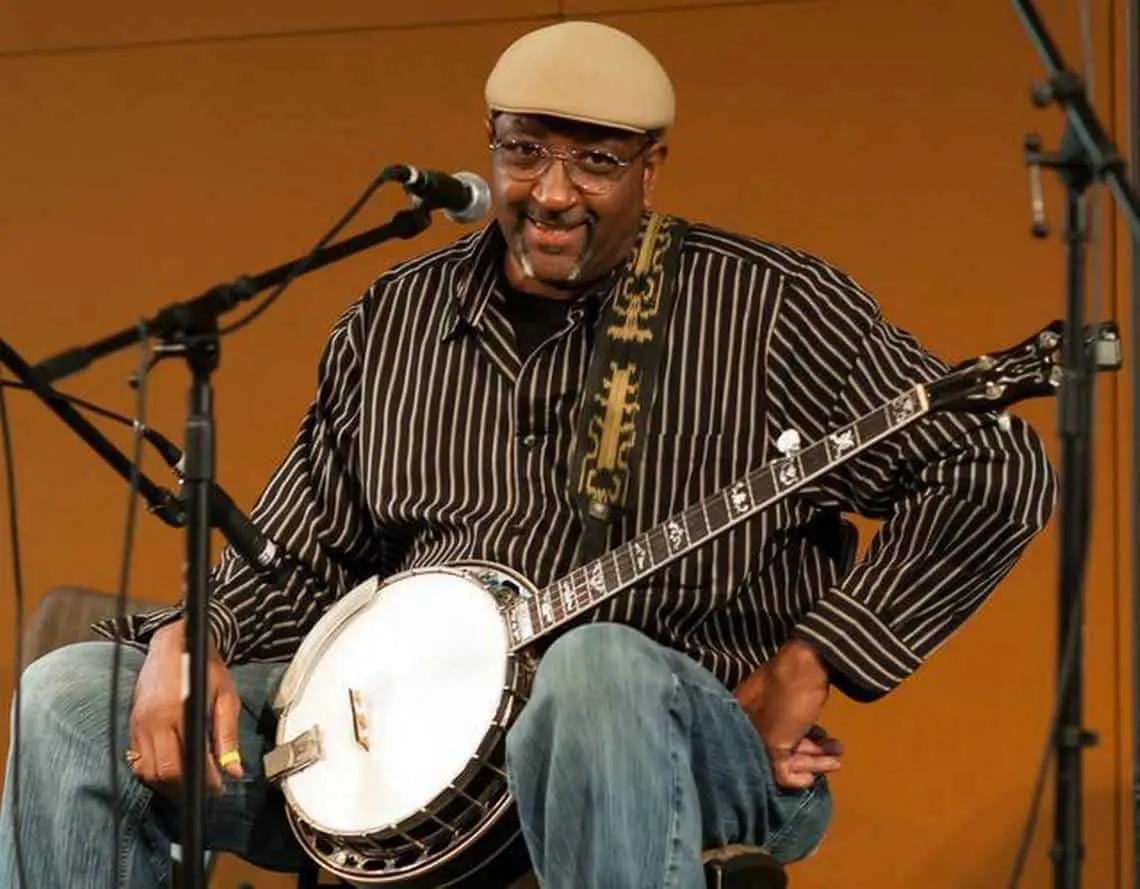
- Playing Live-at the 12th fret 1 to 3ft. out using a Dynamic Cardidode Mic like an SM57
Have you heard a good Banjo joke lately? Banjo is the brunt of jokes from time to time but in reality, holds a special place in Americana music and can make some beautiful sounds live and recorded by great Bluegrass, Folk, and even Jazz musicians from all genres.
How To Mic a Banjo
Bluegrass music has become very popular in the last decade or so and even the famous One Mic Technique has made a comeback making the genre a real fun live show that draws purists of this Americana that you don’t find in other genres.
There is a choreography dance that happens on the stage a sort of half dance and half musical jam that can get a crowd on their feet. The Banjo is a huge part of the genesis of the music that was born in the mountains around the country.
I have seen small 3 or 4 members with a small crowd where One Mic is plenty of juice and natural sounding and actually preferable to myself anyway but also in a larger set of an outside stage and a thousand or so in attendance. Depending on the number of members in the band and the people in attendance using a number of microphones is necessary to come across right.
As is the case with all acoustic instruments, recording a banjo is always a compromise between getting the full timbre of the instrument and isolation from other musicians’ instruments or unwanted reverberation.
As always the SM 57 is always recommended as the go-to microphone when on stage and working with other musicians playing other instruments. A Dynamic Cardioid with the right Polar Patterns can mic in a Close-Up position without the problems that a Condenser poses. But it still might not be the best one to use.
They are able to get in close proximity, two cardioids can be placed in XY configuration at the sweet spot with no loss of sound. If you are only using it for live performance and want something affordable and rugged, a Shure SM57 would do the trick. I’ve used one to even record with before and got a surprisingly good tone. Definitely, buy a dynamic mic for live performance. That goes for most instruments for a Live show use the king of microphones the 57 and 58.
If you playing in a band using electricity and drums one idea is to hold the Banjo around 1-3 feet back from the mic, with the mic at a 90-degree angle pointed a bit more towards the neck and the center of the head. Make some small adjustments. When picking solo move up to around 3″ from the same position for extra volume.
Another option is also to use some larger diaphragm dynamic mic like a mid-priced AudioTechnica and some of the Behringers that make some affordable ones of good quality. Around the 12th fret, from the front.
Mic placement about 1 foot away, to the left, aiming at the 12th fret at approximately 15-degree angle pointing towards the players. If Isolation is a problem then move the mic closer. If it does not present problems then move farther away as Banjo will always sound better miked farther away.
Best Banjo Pickup
You can always get more expensive like an AKG, or a Neuman down the road. Close miking may be better in a situation where you need a lot of gain before feedback. In that situation, the band can be closer to the loudspeakers and, if necessary, use stage monitors. You can spread the band out a little bit – that always helps with close-miking. However, even close-miking suffers from the effects of floor monitors.
The use of Pickup might be the way to go in certain situations KNA BP-1 Piezo Pickup for Banjo One of the highlights of this pickup is that using it requires no modification of your bridge whatsoever. The BP-1 installs easily with only minimal steps and can be removed just as easily without damaging your instrument’s bridge. The BP-1 Portable Piezo Banjo Pickup from KNA is a lightweight, easy-to-install bridge pickup that captures really stellar natural banjo tone from your instrument

Recording Banjo
The Banjo and its tonal qualities are spread out over the instrument as opposed to one or two spots on some other stringed instruments. So this instrument benefits from being miked at certain distances which helps capture the best overall frequencies.
Because in a band situation and sound levels that occur on stage a solid Directional Dynamic mic like the Shure 57 might be all you need but in the studio, it’s not the case. Using a Mic in Isolation will be a detriment to picking up those sweet spots that are only picked up farther back from the source.
Most of the brightness of the Banjo is reflected at the edge where the resonator is located from the metal flange. Most of the Body is coming from the head. If you center the capsule direction towards the head and focused on that spot it could be a dull flat response.
If it’s too close then you’ll pick up fingering noises from the thumb picks and string that can be a negative experience on the ears. If you’re looking for a more modern Bela Fleck-type tone, most people recommend mic placement close:
- At the 12th fret, the same as acoustic for more finger noise and less boom.
- Bluegrass pickers mostly like the mic about 3 inches below the right hand and at least 6 inches back.
Banjo Microphones
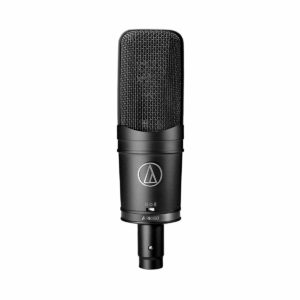
A small Condenser with a fast transient response microphone is ideal for a Dynamic instrument like the Banjo. The Audio-Technica AT4041 Cardioid Condenser  Microphone
 This is very important in that you can move from a player’s slow roll to capture a busy Bluegrass part. Another Mic that complies with this type of miking especially a Banjo is an Audio-Technica AT4050 Multi-Pattern Condenser Microphone
 The open-top in an extended low-end response is well suited to this natural-sounding approach.
The banjo sound is really all about transient attack, so you’ll need a fast, accurate mic with little coloration. A small-diaphragm capacitor (condenser) mic is probably best, and aiming it towards the edge of the instrument, rather than the center, often helps to give the clarity and brightness it needs.
DPA D: Vote CORE 4099 Instrument Microphone with Violin Mounting Clip Perfect for PA amplification and live recording of banjo, acoustic guitar, mandolin, ukulele, bass, trumpet, dobro, or any other acoustic instrument. The 4099 offers practically unlimited placement possibilities as well as a sound that is considerably more natural than an internal microphone or pick-up.
One Mic Bluegrass Technique
Before there was amplification. Places like The Ryman Auditorium and The Grand Ole Opry used acoustics and a player’s projection on stage to control volume, until progressing to a One Mic Technique that is becoming popular once again. Since the 1920s and 30’s the Single Mic Technique has made its way through radio broadcasts and into the recording studio from the live stage. This old-fashioned technique has been making a comeback lately.
The One Mic Bluegrass Technique uses a Large Diaphragm Cardioid Condenser Mic that runs through a high-quality preamp using 2 main Mic Placements. The Mic Placements are set and the players move back and forth on stage taking their turn for the lead-up front or falling back for the next lead player.
It becomes a dance on a stage that when it’s done right in time is really cool and something to see. One Microphone position is high at the head & mouth level and the other is positioned low at the instrument level.
As with all acoustic instruments, no two banjos are ever the same, and it really does pay to experiment with different mic positions and distances to find the best blend of sonic characteristics. If you are having trouble finding a sound that the player thinks is representative of his instrument, you could also try miking over the player’s shoulder. At least that way you’ll capture what the player is hearing, and that may be exactly what you need.
JimGalloway Author/Editor
MikingDesign.com


