There are all kinds of techniques for miking a vocalist in a recording studio. The most expensive microphone needs to be used right. A vocalist can control a lot of different elements that a top-quality mic can bring into the studio like distance and air space. How can you make your voice sound better when recording?
- Aim the Mic towards the Singer’s mouth.
- Use a Distance of 8-12 in.
- Use a Pop Screen to get minimal distance angled so it’s not parrel to the singer’s mouth.
- Keep the back of the mic stand empty of sheet music
- Find a good place for the mic stand
- Avoid room corners, the room’s center & any hard surfaces
Don’t spend too much time trying to reinvent your music in your studio. Change the room if not dry enough. Use the room as an effect and mic placement as a technique. Here’s how.
Closed Back Headphones for Mixing
These simple mic controls and techniques can all add to the vocalist’s style. They will make the vocalist sound better. I still use tape on the floor for a starting mark and the lyric sheets straight out in front so that whoever is singing wasn’t turning their head looking for the next line or lyric in the song.
If you start with the microphone on the axis for the best response and the vocalist isn’t jumping around the room then the frequencies should stay in the ballpark with each try. Moving side to side a fraction at a time might not be the best idea even if it adds some color to the voice.
I would keep the mic’s position in the same spot once you find it and visually mark where to stand on the floor in front of the mic. Focus on making the sound clear, solid, and consistent. Perfection is something that I could never get in a Home Studio setting. I’m not sure I would want it. Clear, Consistency is a better thing to chase.
You can fix some EQ in a final mix and stick with small incremental changes unless you got the time and you’re an engineer. Stick with Cardioid directional mics and use the best direction for the best frequencies. If you are an engineer you won’t be reading this post anyway.
In the world of Songwriting and Home Recording, less is best, always. Changes take time and energy away from your writing which is why you are recording, to begin with.
You always want some room ambiance or reflective material in a room when recording. When you mix you need more dead space. I had two zones in my studio both in the same room. There is nothing technical going on. Just that one side of the room had more dead space than the other. I used a few acoustical sound-absorbing panels and a few pieces of furniture.
Mic placement worked moving the microphone to spots in the room where there was less or more reflective or live sounding. Using the same room made it simple. There is a lot of DIY material in soundproofing rooms for optimal recording. I’m going to stick with microphones because the information and specifications on the subject are not my forte.
I think you can pick up some really good tips and sound-absorbing materials from recording magazines and off the internet. Take off some of the higher and lower frequencies in your recording and mixing room.
The idea is to optimize the Dead-end and Live-end of the room the best you can. Get the room sounding good acoustically, then get back to making music. A room that is too damped or dead is not pleasing either. You can easily put too much time and money into something that you will never get perfect.

Home Studio Setup Ideas
Monitor your Mix in a good Acoustic Environment.
Many Acoustic factors need to be right for good monitoring of your recording. Like size, treatment, and furnishing. Configuring your monitors will ensure you hear what will be the best mix of vocals or any sound. Room Acoustics are always first and Signal Processing is last. Start here:
First, get the room dimensions. The room’s dimensions influence the acoustical energy from the monitor. Next, you need to know if the room is hard and echoey or soft and damped. Is the room half empty or does the room have some furniture? Is the recording done in a bedroom or in a controlled room that has been retrofitted with acoustic panels?
The environment will affect the acoustic absorption of the room. Combining volume and treatment can allow us to estimate the reverberation time. This affects how we will add the acoustical controls later on. This is how you can make your voice sound its best
This is a recording control that the Neumann Company uses to start. Finally, you need to look at the position of each loudspeaker. The nearer the monitors are to the wall the more acoustic loading is experienced. As a result, Bass and Low Mids would be emphasized. You don’t want that.
Even the small computer screen in the recording room can affect the low mid-range by acting as a small wall in the room. Finally, you need the exact distance between the loudspeaker front panel and the listening position. Basically, you need a small precise clear working sound over a short listening distance. You don’t have to fill the room with sound.
That will conclude the Guided Alignment control and now the speakers are readily fine-tuning with signal processing done after the Guided Alignment. By starting out with these basics you can get the raw sound quality of the room without touching anything else because less is best.
For studio microphones the main most important ingredient is Sound. The biggest difference between the two microphones is placement. On stage, feedback is the biggest problem and the mic needs to be placed close to the sound source.
In the studio, the microphones tend to have a deeper low end. This makes them quite sensitive to rumble that is alleviated by a shock mount. Some mics feature a low-cut switch.
This will even out the lower-end response in situations where the mic is placed close to the sound source. This makes Studio microphones more flexible. They can be positioned close to the sound source or farther away in the room.
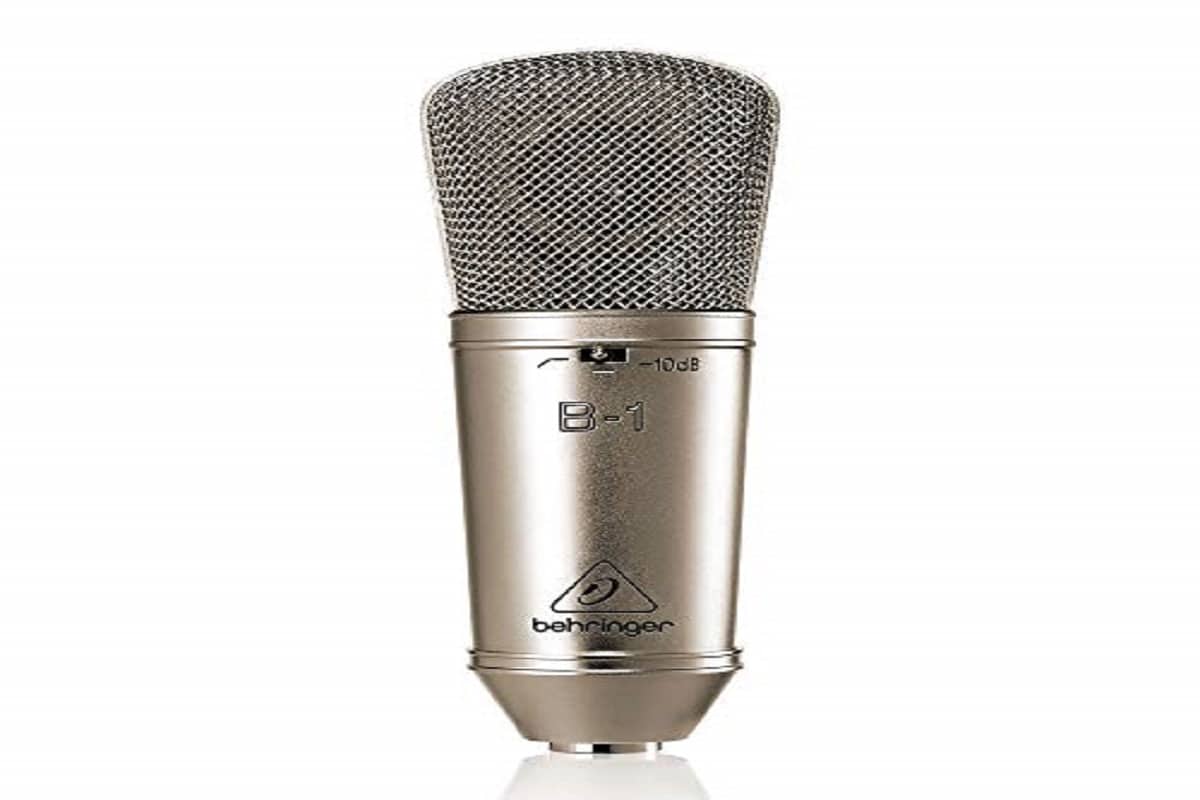
Studio mics are generally condenser mics and the sound quality is the number one factor and importance. They are the highest fidelity and wide frequency range. It will have excellent impulse response and a very low noise ratio.
In some circumstances, dynamic mics are used in recording studios with higher quality types of equipment, and condenser mics can be used on stage. Stage miking usually uses close-miking techniques. Normally this range is 6 to 12 inches from the sound’s source.
This type of microphone placement can be advantageous when the recording room is not acoustically treated. In this situation, close-miking will sound better with no room ambiance, and a dryer signal. Even in some big professional recording studios, some vocalists will want to hold the microphone.
It gives them a more comfortable feeling and allows them to move with the music and adds to their own level of performance. With a cheaper type of microphone, this could come with a cost. Mic place is very important, especially in the Home Recording studio where cost is limited and you need more bang for your buck.
In these Basic Examples, from Mic Placement your first EQ, you will hear the subtle differences in EQ by tilting the mic or applying some airspace or distance from the microphone to the sound source. Like the guy says in the video it’s the first time in a recording that you can manipulate some sound.
You don’t need a specific type of mic and you don’t need to be a qualified sound engineer. Just experiment a little with the equipment you have with your own ears and find the position that will sound full and use it. A decent microphone will have the specs on the box about the best direction and proximity for using the mic and the range of frequencies high and lows.
Microphone Positioning For Vocals
A nice thick strong mic stand that won’t move or interrupt any presentation while you’re working the mic. A pop screen to protect the mic from plosives. plosives are the P’s & B’s consonant sounds you make that can create those little air blasts that will ruin vocal takes that can be stopped inexpensively with the Pop screen. The last piece is the headphones.
Decent headphones are a must like the Neumann NDH 20 Closed-Back Studio Headphones with Headphone Stand & Mini Male Extension Cable 25′ Bundle You need to monitor the playback of music with studio speakers off. The headphones have to be closed-back headphones that won’t bleed back into the microphone especially if you are in close proximity as the vocalist will be.
Proper mic position is essential for good recording no matter how good the quality of the microphone is. Just like an instrument, the voice has a high and low frequency that may be dominant. Using the mic placement and the monitor speakers you can find the sweet spot for Volume, Bass, and Treble by experimenting. As you move the capsule listen for the mix that will make you sound the best right from the beginning, before laying a track.
As long as your placement is good, you can optimize how the microphone performs, and even improve the overall sound by slightly moving the capsule around in small increments.
Experiment with your voice, movement of the capsule, and with another set of ears for a second opinion. You’ll find a decent setting to use. I have used some pretty crappy mics and worked them around to find somewhat acceptable vocal recordings. Microphones will work like an equalizer setting similar to drumheads.
The tonal effects work differently outside of a drumhead by moving in and out from the center to the edge of the head. You can find small incremental changes in the EQ by movement. Tilting up and down and moving the mic towards the center for more bass and towards the edges for higher tones.
Microphones work similarly to that, so experiment with small placement changes and listen for a sweet spot that conveys the best working sound of your voice and the placement of the mic.
Vocal Recording Tips
- Set up your stand off-center in the middle of the room staying clear of reflective surfaces.
- Aim the mic at the mouth of the singer- 8 to 12 inches.
- Use the Pop Shield as a measuring device for this. Angle the Pop shield a bit so that it is not perpendicular to the mic capsule.
- Make sure there is nothing directly in the back of the microphone. Not even lyric paper could change the sound of your vocals. The vocalist should never place their headphones on the microphone when they are done. The feedback that can be created from the headphone and the mic can damage the speakers in the studio and even worse your ears.
- Don’t record too hot the best engineers say to leave some room for later ensuring there won’t be any distortion in the mix. Leave about 10 dB headroom above the loudest peaks. You can always turn it up later.
To prepare for recording vocals you will need a space for recording and mixing. One side of the room should have some sound absorption materials that will absorb some high and low frequencies while leaving some room ambiance that can be beneficial to the color of the recording. In other words, don’t kill it.
In the mixing part of the room keep your monitor speakers at a safe distance from the back wall and add some furniture. This will dampen that side a little more which will help with a better mix.
Use the Guided Alignment Control formula to estimate Reverb time. Adjust your Monitors properly in position in the room. Use a good wide-frequency Studio Condenser Cardioid Microphone.
Spend a little more here and it will pay off in your recordings. Use a quality Mic Stand, like these, a great buy like this K & M Mic stand with boom arm (5-(Pack)) that will keep monitors from bleeding through to the recording mix.
Don’t be overdue and look for perfection. If you keep looking you won’t get your music recorded. Trust your ears. You know what your song sounds like in your head. Just try and make that same sound in the recording.
JimGalloway Author/Editor
MikingDesign.com
